Pad Image
SUMMARY
Pad Image adds padding to an image on top, bottom, left, and right.
Pads the image with the specified number of pixels on each side. Supports configurable border handling (constant, replicate, reflect, wrap) and fill value. Useful for preparing images for fixed-size processing, avoiding boundary artifacts, or matching dimensions across a batch.
Use this Skill when you want to add padding on specific sides of an image.
The Skill
from telekinesis import pupil

padded_image = pupil.pad_image(
    image=image,
    top=20,
    bottom=20,
    left=30,
    right=30,
    border_type="constant",
    fill_value=0,
)Example
Input Image
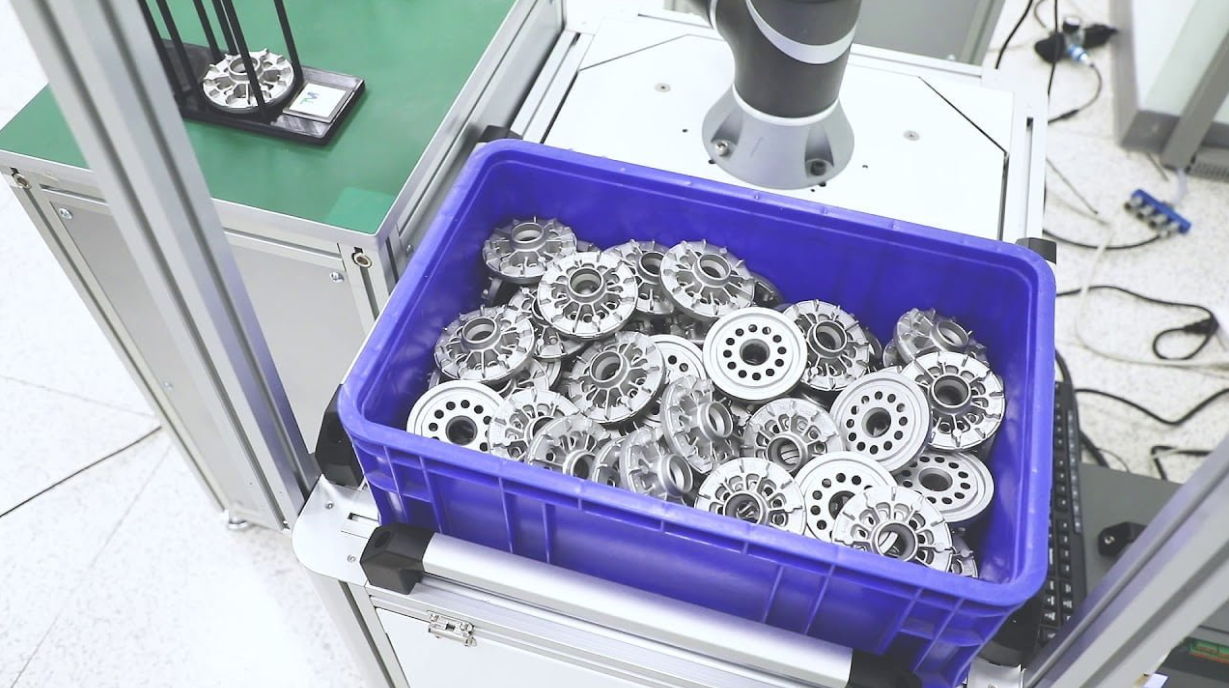
Original image
Padded Image
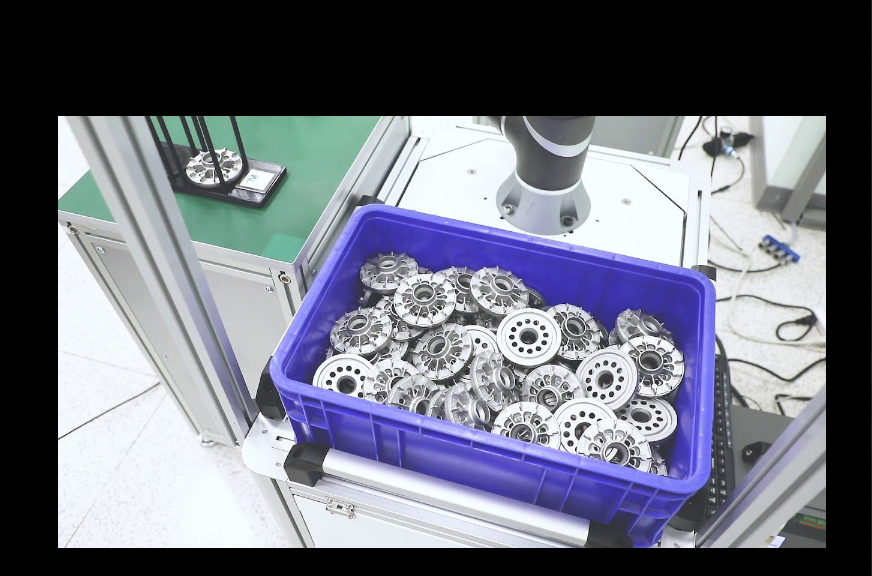
Padded image with
The Code
from telekinesis import pupil
from datatypes import io
import pathlib
from loguru import logger

DATA_DIR = pathlib.Path("path/to/telekinesis-data")

# Load image
filepath = str(DATA_DIR / "images" / "gearbox.webp")
image = io.load_image(filepath=filepath)
logger.success(f"Loaded image from {filepath}")

# Pad image on top, bottom, left, and right
padded_image = pupil.pad_image(
    image=image,
    top=200,
    bottom=50,
    left=100,
    right=75,
    border_type="constant",
    border_value=0.0,
)

# Access results
padded_image_np = padded_image.to_numpy()
logger.success("Padded image. Output shape: {}", padded_image_np.shape)
The Explanation of the Code
The code begins by importing the necessary modules: pupil for image processing operations, io for data handling, pathlib for path management, and loguru for logging.
from telekinesis import pupil
from datatypes import io
import pathlib
from loguru import logger
Next, an image is loaded from a .png file using the io.load_image function.
DATA_DIR = pathlib.Path("path/to/telekinesis-data")

# Load image
filepath = str(DATA_DIR / "images" / "gearbox.webp")
image = io.load_image(filepath=filepath)
The main operation uses the pad_image Skill from the pupil module. This Skill adds padding to an image on top, bottom, left, and right with configurable border handling. The parameters can be tuned to control padding amounts, border type, and fill value depending on the characteristics of the input image.
padded_image = pupil.pad_image(
    image=image,
    top=200,
    bottom=50,
    left=100,
    right=75,
    border_type="constant",
    border_value=0.0,
)
Finally, the padded image is converted to a NumPy array using to_numpy() for further processing, visualization, or downstream tasks.
padded_image_np = padded_image.to_numpy()
logger.success(f"Output image shape: {padded_image_np.shape}")
This operation is particularly useful in robotics and vision pipelines for fixed-size processing, avoiding boundary artifacts, and matching dimensions across batches, where adding padding on specific sides is required.
Running the Example
Runnable examples are available in the Telekinesis examples repository. Follow the README in that repository to set up the environment. Once set up, you can run this specific example with:
cd telekinesis-examples
python examples/pupil_examples.py --example pad_image
How to Tune the Parameters
The pad_image Skill has 6 parameters:
top (no default—required):
- Padding in pixels on the top edge
- Units: Pixels
- Typical range: 0 to image_height
- Use to add space above the image
bottom (no default—required):
- Padding in pixels on the bottom edge
- Units: Pixels
- Typical range: 0 to image_height
- Use to add space below the image
left (no default—required):
- Padding in pixels on the left edge
- Units: Pixels
- Typical range: 0 to image_width
- Use to add space to the left of the image
right (no default—required):
- Padding in pixels on the right edge
- Units: Pixels
- Typical range: 0 to image_width
- Use to add space to the right of the image
border_type (default: "constant"):
- How to fill the padded regions
- Options: "default", "constant", "replicate", "reflect", "reflect 101"
- "constant" uses border_value; "replicate" extends edge pixels; "reflect" mirrors
- Use "constant" for black padding; "replicate" to avoid artificial edges; "reflect" for seamless extension
border_value (default: 0):
- Fill value for "constant" border. Scalar or [r, g, b] for color images
- Units: Intensity (0–255 for uint8)
- Use 0 for black; 255 for white; [r, g, b] for colored padding
TIP
Best practice: Use "constant" with border_value=0 for most cases. Use "replicate" when you want padding to blend with edge content.
Where to Use the Skill
Pad Image is commonly used in the following pipelines:
- Fixed-size input - Pad to match model or batch dimensions
- Boundary handling - Avoid edge artifacts in convolutions
- Batch alignment - Match dimensions across variable-sized images
Related skills to build such a pipeline:
crop_image_center: Crop after padding for fixed-size outputtranslate_image: Shift content; pad_image adds spaceresize_image_with_aspect_fit: Resize with aspect fit often adds padding
Alternative Skills
| Skill | vs. Pad Image |
|---|---|
| crop_image_center | Use when image is smaller than target; crop_image_center pads automatically. |
| resize_image_with_aspect_fit | Use when resizing to target size with aspect preservation (adds padding). |
| translate_image | Use when you need to shift content; translate uses border handling for out-of-bounds. |
When Not to Use the Skill
Do not use Pad Image when:
- You need to resize (Use resize_image or resize_image_with_aspect_fit)
- You need symmetric padding and crop (Use crop_image_center for smaller images)
- All padding values are 0 (No-op; skip for efficiency)