
Skip to content

Installation

The guide below walks you through installing the Telekinesis Agentic Skill Library, published on PyPI as telekinesis-ai, setting up your API key, and preparing a clean Python environment for your first Telekinesis project.

The library provides the Python SDK and modular skills used to build Telekinesis workflows.

By the end of this guide, you will have:

  • Created a Telekinesis API key
  • Configured the TELEKINESIS_API_KEY environment variable
  • Created an isolated Python environment, installed and verified telekinesis-ai
  • Installed any optional modules you plan to use
Need help with installation?
Join the Telekinesis Discord to ask setup questions, report issues, and connect with other Physical AI developers.
Join Discord →

Prerequisites

Before you begin, make sure you have:

  • Python 3.11 or 3.12 - required for telekinesis-ai
  • A package manager - we recommend Miniconda for isolated environments

Supported Python versions

We currently support Python 3.11 and 3.12 only. Make sure your environment uses one of these versions before starting with the installation.

Step 1: Create an API Key

Your Telekinesis API key authenticates every request the SDK makes to the Telekinesis platform.

The video below walks through the full sign-up and API key creation flow on a Mac machine. The same process is also written out step by step below, so you can follow the video first and then refer to the instructions whenever needed.

Creating a Telekinesis account and generating your first API key.

Follow the written steps below to create your account and generate your first key.

1. Create your Telekinesis account

Sign up - or log in if you already have an account - at the Telekinesis platform:

Go to platform.telekinesis.ai →

You can sign up with email and password. After signing up with email, check your inbox for a verification link and confirm your address before continuing. Sometimes, the verification email may also land in your spam folder.

FREE TIER PLAN

Every new Telekinesis account comes with a free tier that includes credits to call the SDK and run skills. You do not have to provide any billing details currently.

2. Generate an API key

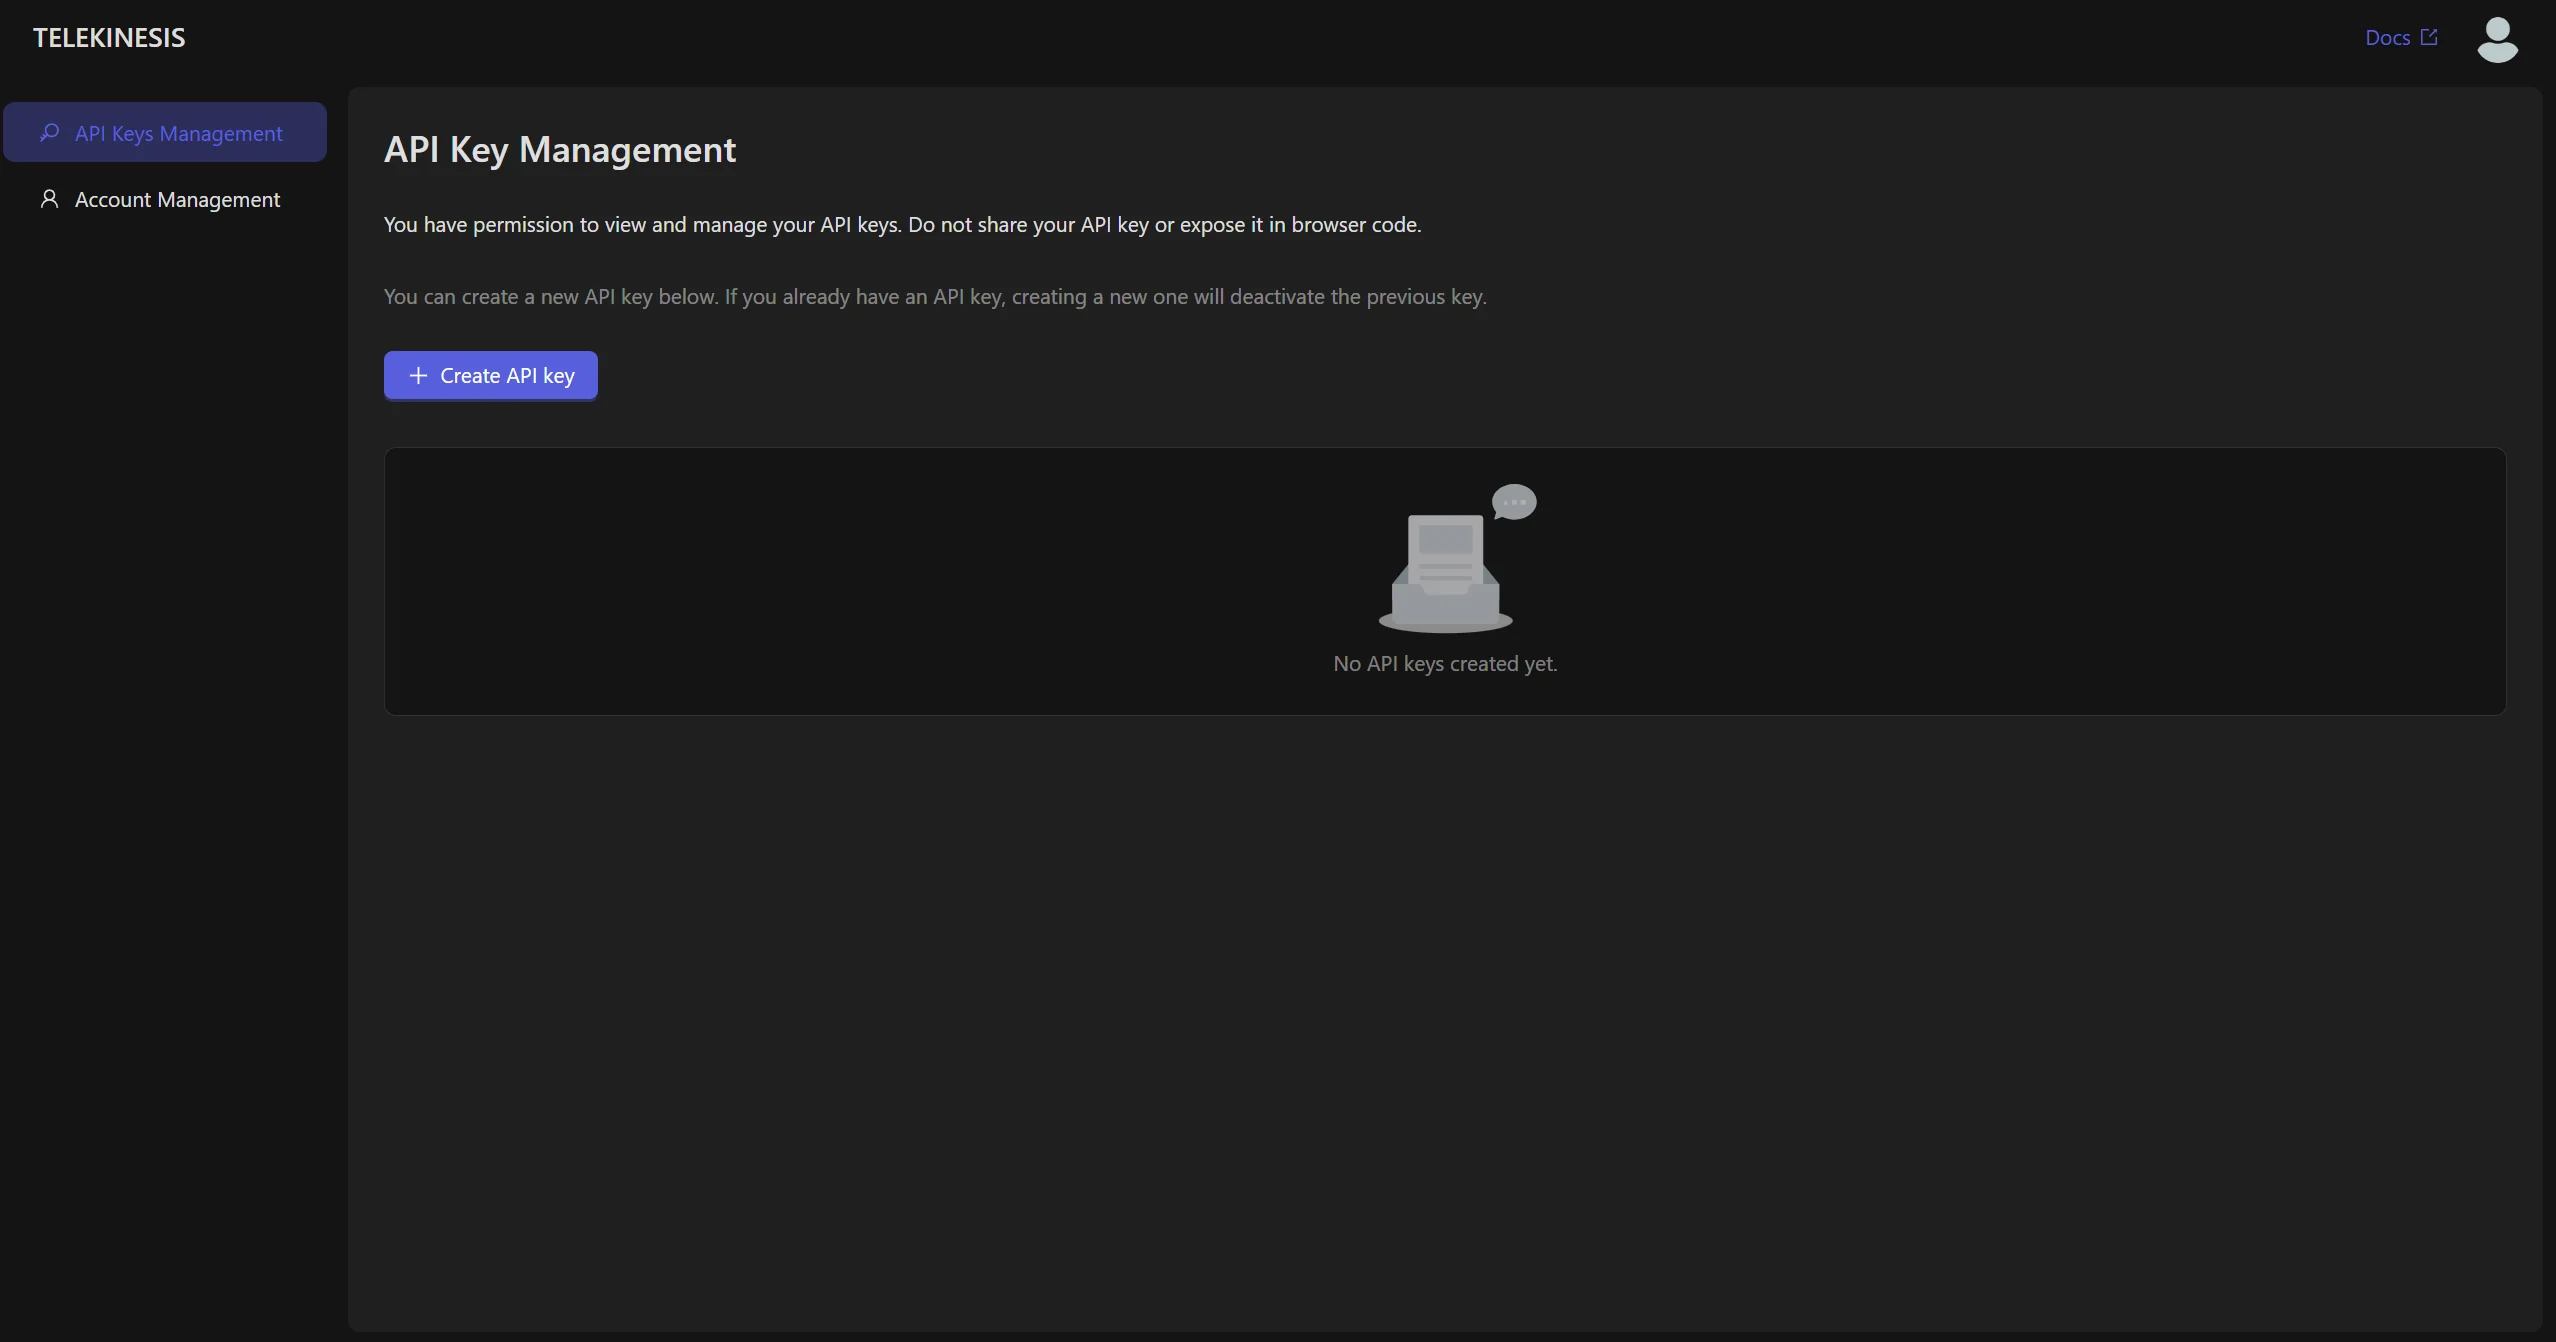
Once you are logged in, open the API Keys page and click Create new key. Give the key a descriptive name (for example, local-testing, or telekinesis-key) so you can recognise it later when you have several keys.

3. Copy and store the key

Copy the key and store it somewhere safe, such as:

  • A password manager (1Password, Bitwarden, etc.)
  • Your shell configuration file (e.g. .zshrc, .bashrc)
  • Your team's secrets manager (AWS Secrets Manager, GitHub Actions secrets, etc)

Once a key is deleted or revoked, you cannot use it again. You have to create a new one.

COPY KEY

For security, the full API key is shown only once, right after it is created. If you close the dialog without copying it, you will need to delete the key and generate a new one.

In the next step you will load this key into your environment as TELEKINESIS_API_KEY.

4. Manage your keys safely

A few best practices to keep your account and projects secure:

  • Never commit keys to source control. Always load them from environment variables or a secrets manager - never hard-code them in Python files, notebooks, or .env files that are committed to git.
  • Rotate keys regularly. Generate a new key, update your environments, then delete the old one from the API Keys page.
  • Revoke compromised keys immediately. If a key is leaked or you lose track of where it is used, delete it from the platform - any client still using it will start failing authentication right away.

Step 2: Configure the API Key

Export the API key as an environment variable so the Telekinesis SDK can authenticate your requests automatically. In every command below, replace <your_api_key> with the key generated in Step 1.

Set API key

powershell
# Persist the key for all future PowerShell sessions
setx TELEKINESIS_API_KEY "<your_api_key>"

# Also set it in the current shell session
$env:TELEKINESIS_API_KEY="<your_api_key>"

# Verify the key is set
echo $env:TELEKINESIS_API_KEY
bash
# Option 1: For bash terminal
echo 'export TELEKINESIS_API_KEY="<your_api_key>"' >> ~/.bashrc
source ~/.bashrc

echo $TELEKINESIS_API_KEY

# Option 2: For zshrc terminal
echo 'export TELEKINESIS_API_KEY="<your_api_key>"' >> ~/.zshrc
source ~/.zshrc

echo $TELEKINESIS_API_KEY

# Option 3: For fish terminal
echo 'set -gx TELEKINESIS_API_KEY "<your_api_key>"' >> ~/.config/fish/config.fish
source ~/.config/fish/config.fish

echo $TELEKINESIS_API_KEY

You should see the value of the key printed in the terminal.

NOTE

The Telekinesis SDK reads TELEKINESIS_API_KEY directly from your environment, so no further configuration is needed in your Python code.

Step 3: Install the Telekinesis Skill Library

1. Create a Python Environment

Create an isolated environment to avoid dependency conflicts. We recommend using conda:

1. Create a new environment called telekinesis:

bash
conda create -n telekinesis python=3.11

2. Activate the environment:

bash
conda activate telekinesis

2. Install the package from PyPI

The Telekinesis Skill Library is published on PyPI as telekinesis-ai.

bash
pip install telekinesis-ai

This installs the core Python SDK and the default vision-related Telekinesis modules.

Telekinesis Datatypes Package
telekinesis-datatypes is installed automatically with telekinesis-ai. Provides canonical, strongly-typed 2D and 3D structures — images, point clouds, meshes — that act as the data contract shared by every Telekinesis skill and agent.
Explore →

3. Verify the Installation

Confirm installation is done correctly by importing it from a Python shell:

bash
python -c "import telekinesis; from telekinesis import cornea, retina, pupil, vitreous"

If the command finishes without an error, the installation was successful.

Try A Vision Example?
You can now build simple vision-only workflows after the installation succeeds.
Explore →

Step 4: Module-Specific Installation

The Telekinesis Skill Library is modular. The base package, telekinesis-ai, installs the core SDK and default vision modules.

Some modules require additional dependencies, hardware drivers, or optional Python packages. Pick the modules you plan to use and follow their dedicated installation guides.

Next Steps

Once the Telekinesis Skill Library is installed and verified, head to the Quickstart to run your first Telekinesis skill end-to-end.

Facing issues in setup?
Open a GitHub issue with the commands you ran, the full error, and your OS / Python version so we can reproduce it.
Open GitHub issue →
Help improve this guide
Jump into the Telekinesis Discord with suggestions or corrections to this installation guide-we use this channel for docs feedback and ideas.
Join Discord →