Quickstart
Free TierEvery new account starts on a free tier with credits to call the SDK — no billing details required.Create API key →
Run your first Example in under 5 minutes!
Set your API key
Get your API key from the Telekinesis Platform for Free.
Watch the API key setup walkthrough on YouTube↗powershell
setx TELEKINESIS_API_KEY "<your_api_key>"
$env:TELEKINESIS_API_KEY="<your_api_key>"
bash
echo 'export TELEKINESIS_API_KEY="<your_api_key>"' >> ~/.bashrc
source ~/.bashrc
zsh
echo 'export TELEKINESIS_API_KEY="<your_api_key>"' >> ~/.zshrc
source ~/.zshrc
fish
echo 'set -gx TELEKINESIS_API_KEY "<your_api_key>"' >> ~/.config/fish/config.fish
source ~/.config/fish/config.fish
Install telekinesis-ai and its dependencies
Create an isolated Python 3.11 or 3.12 environment and install.
bash
# Create the isolated environment
conda create -n telekinesis python=3.11
conda activate telekinesis

# Install the SDK
pip install telekinesis-ai

# Install URDF assets for telekinesis-syanpse
git clone --depth 1 https://github.com/telekinesis-ai/telekinesis-urdfs.git
cd telekinesis-urdfs
pip install .
cd ..

# Install Rerun for visualization
pip install rerun-sdk==0.31.2
Save your code
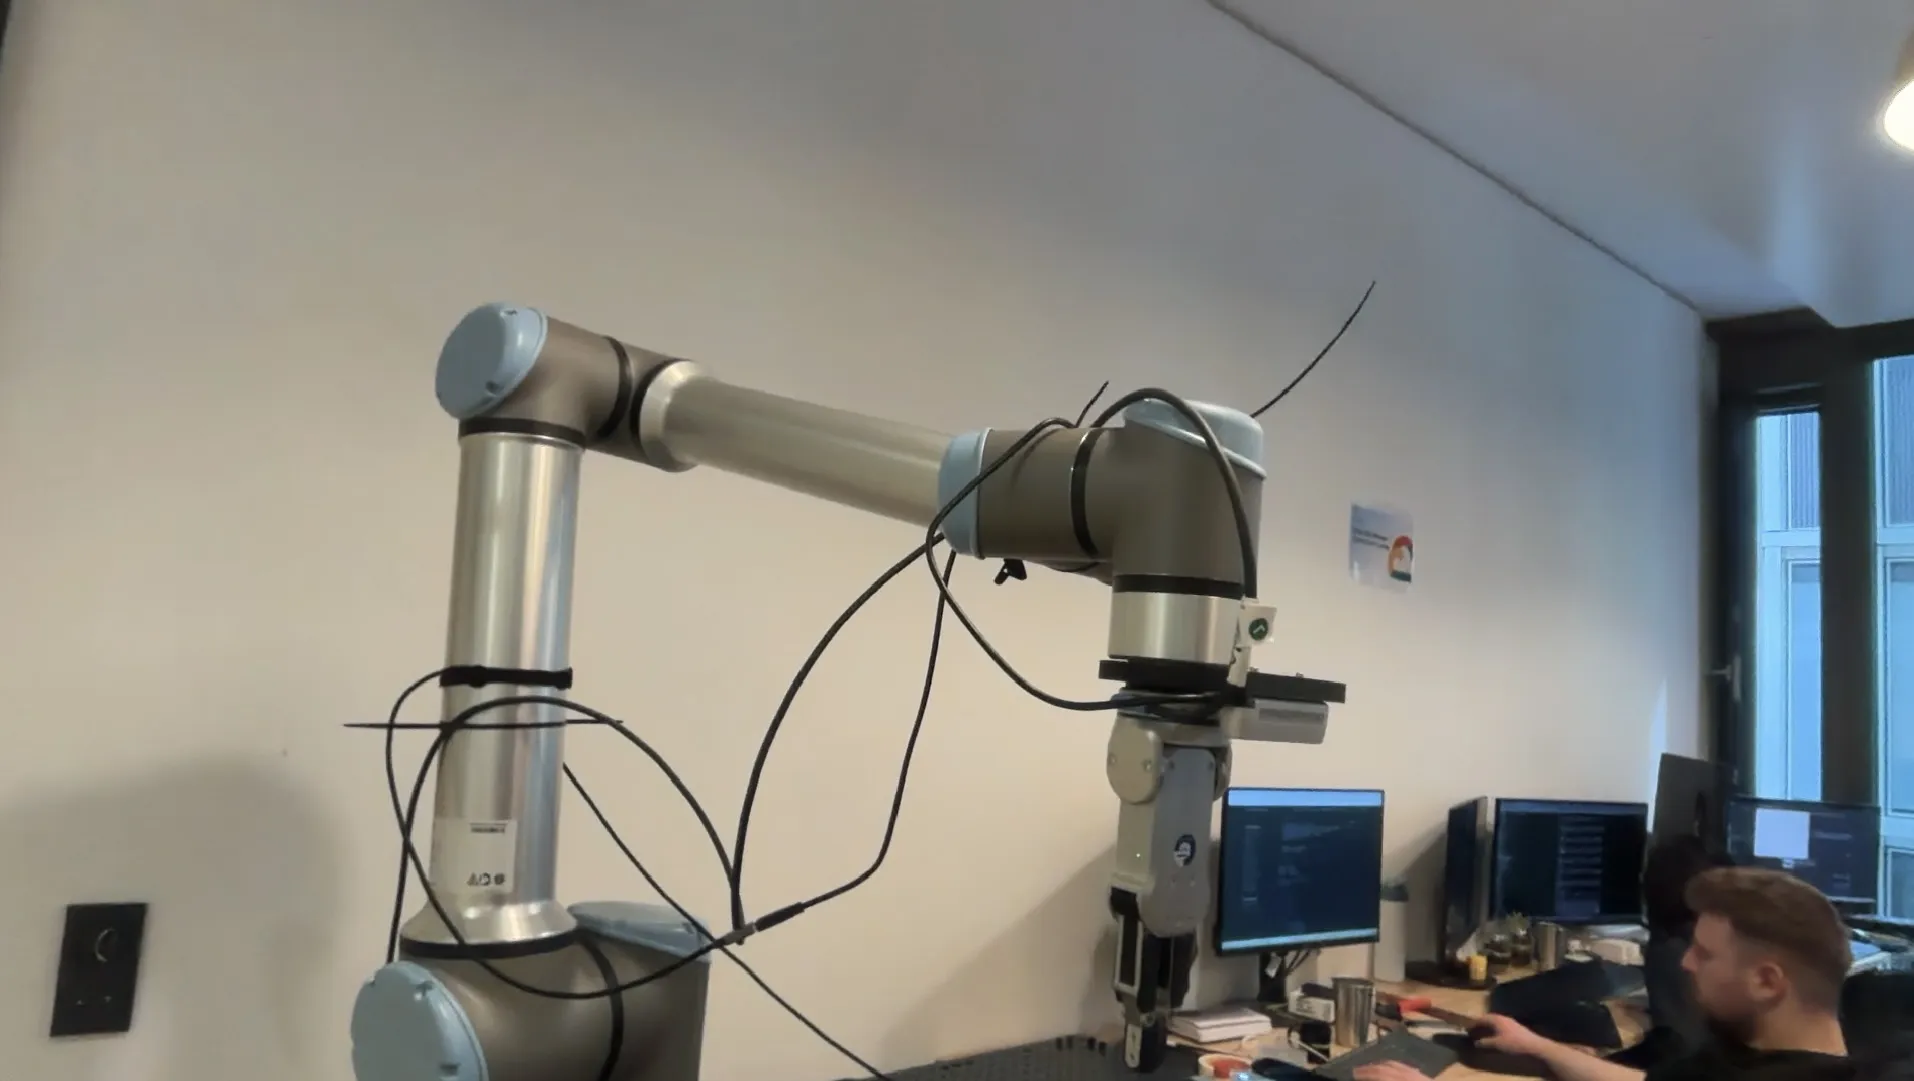
Pick the manipulator to see the expected output!
Save any of the below script as quickstart.py.
python
"""
Telekinesis quickstart: drive a Universal Robots robot along a YZ-plane circle via Cartesian pose targets.
No Hardware Required - runs entirely in software with live visualization in Rerun.
"""

import colorsys
import time

import numpy as np
import rerun as rr
from loguru import logger

from telekinesis.synapse.robots.manipulators import universal_robots


def visualize_robot(robot, static_meshes: bool = False) -> None:
    if static_meshes:
        for link, m in robot.get_visual_meshes_data().items():
            if m["vertices"] is None:
                continue
            kwargs: dict = {
                "vertex_positions": m["vertices"],
                "triangle_indices": m["triangles"],
                "vertex_normals": m["vertex_normals"],
            }
            if m["vertex_colors"] is not None:
                kwargs["vertex_colors"] = m["vertex_colors"]
            else:
                kwargs["albedo_factor"] = m["color"] or [179, 179, 179]
            rr.log(f"/robot/{link}", rr.Mesh3D(**kwargs), static=True)

    for link, T in robot.get_visual_mesh_transforms().items():
        rr.log(f"/robot/{link}", rr.Transform3D(translation=T[:3, 3], mat3x3=T[:3, :3]))


def visualize_path(path: list[list[float]], entity: str = "/trajectory") -> None:
    if len(path) < 2:
        return
    segments = [[path[i], path[i + 1]] for i in range(len(path) - 1)]
    n = max(1, len(segments) - 1)
    colors = [
        [int(c * 255) for c in colorsys.hsv_to_rgb((1.0 - i / n) * (240.0 / 360.0), 1.0, 1.0)]
        for i in range(len(segments))
    ]
    rr.log(entity, rr.LineStrips3D(segments, colors=colors, radii=0.003))


def main():
    hz = 30
    dt = 1.0 / hz
    radius = 0.20
    n_steps = 200

    robot = universal_robots.UniversalRobotsUR16E()
    rr.init(f"telekinesis_synapse_{type(robot).__name__}", spawn=True)
    visualize_robot(robot, static_meshes=True)
    time.sleep(2.0)

    home_pose = robot.get_cartesian_pose()
    logger.info(f"Tracing circle of radius {radius:.3f} m in YZ plane ({n_steps} steps)")

    path: list[list[float]] = []
    for step in range(n_steps + 1):
        theta = 2.0 * np.pi * step / n_steps
        pose = home_pose.copy()
        pose[1] = home_pose[1] + radius * np.cos(theta) - radius
        pose[2] = home_pose[2] + radius * np.sin(theta)
        try:
            robot.set_cartesian_pose(pose)
        except ValueError:
            continue
        visualize_robot(robot)
        actual = robot.get_cartesian_pose()
        path.append([float(actual[0]), float(actual[1]), float(actual[2])])
        visualize_path(path)
        time.sleep(dt)


if __name__ == "__main__":
    main()
python
"""
Telekinesis quickstart: drive a Fanuc M-10iA along a YZ-plane circle via Cartesian pose targets.
No Hardware Required - runs entirely in software with live visualization in Rerun.
"""

import colorsys
import time

import numpy as np
import rerun as rr
from loguru import logger

from telekinesis.synapse.robots.manipulators import fanuc


def visualize_robot(robot, static_meshes: bool = False) -> None:
    if static_meshes:
        for link, m in robot.get_visual_meshes_data().items():
            if m["vertices"] is None:
                continue
            kwargs: dict = {
                "vertex_positions": m["vertices"],
                "triangle_indices": m["triangles"],
                "vertex_normals": m["vertex_normals"],
            }
            if m["vertex_colors"] is not None:
                kwargs["vertex_colors"] = m["vertex_colors"]
            else:
                kwargs["albedo_factor"] = m["color"] or [179, 179, 179]
            rr.log(f"/robot/{link}", rr.Mesh3D(**kwargs), static=True)

    for link, T in robot.get_visual_mesh_transforms().items():
        rr.log(f"/robot/{link}", rr.Transform3D(translation=T[:3, 3], mat3x3=T[:3, :3]))


def visualize_path(path: list[list[float]], entity: str = "/trajectory") -> None:
    if len(path) < 2:
        return
    segments = [[path[i], path[i + 1]] for i in range(len(path) - 1)]
    n = max(1, len(segments) - 1)
    colors = [
        [int(c * 255) for c in colorsys.hsv_to_rgb((1.0 - i / n) * (240.0 / 360.0), 1.0, 1.0)]
        for i in range(len(segments))
    ]
    rr.log(entity, rr.LineStrips3D(segments, colors=colors, radii=0.003))


def main():
    hz = 30
    dt = 1.0 / hz
    radius = 0.2
    n_steps = 200

    robot = fanuc.FanucM10IA()
    rr.init(f"telekinesis_synapse_{type(robot).__name__}", spawn=True)
    visualize_robot(robot, static_meshes=True)
    time.sleep(2.0)

    home_pose = robot.get_cartesian_pose()
    logger.info(f"Tracing circle of radius {radius:.3f} m in YZ plane ({n_steps} steps)")

    path: list[list[float]] = []
    for step in range(n_steps + 1):
        theta = 2.0 * np.pi * step / n_steps
        pose = home_pose.copy()
        pose[1] = home_pose[1] + radius * np.cos(theta) - radius
        pose[2] = home_pose[2] + radius * np.sin(theta)
        try:
            robot.set_cartesian_pose(pose)
        except ValueError:
            continue
        visualize_robot(robot)
        actual = robot.get_cartesian_pose()
        path.append([float(actual[0]), float(actual[1]), float(actual[2])])
        visualize_path(path)
        time.sleep(dt)


if __name__ == "__main__":
    main()
python
"""
Telekinesis quickstart: drive a Neura Robotics MAiRA 7M along a YZ-plane circle via Cartesian pose targets.
No Hardware Required - runs entirely in software with live visualization in Rerun.
"""

import colorsys
import time

import numpy as np
import rerun as rr
from loguru import logger

from telekinesis.synapse.robots.manipulators import neura_robotics


def visualize_robot(robot, static_meshes: bool = False) -> None:
    if static_meshes:
        for link, m in robot.get_visual_meshes_data().items():
            if m["vertices"] is None:
                continue
            kwargs: dict = {
                "vertex_positions": m["vertices"],
                "triangle_indices": m["triangles"],
                "vertex_normals": m["vertex_normals"],
            }
            if m["vertex_colors"] is not None:
                kwargs["vertex_colors"] = m["vertex_colors"]
            else:
                kwargs["albedo_factor"] = m["color"] or [179, 179, 179]
            rr.log(f"/robot/{link}", rr.Mesh3D(**kwargs), static=True)

    for link, T in robot.get_visual_mesh_transforms().items():
        rr.log(f"/robot/{link}", rr.Transform3D(translation=T[:3, 3], mat3x3=T[:3, :3]))


def visualize_path(path: list[list[float]], entity: str = "/trajectory") -> None:
    if len(path) < 2:
        return
    segments = [[path[i], path[i + 1]] for i in range(len(path) - 1)]
    n = max(1, len(segments) - 1)
    colors = [
        [int(c * 255) for c in colorsys.hsv_to_rgb((1.0 - i / n) * (240.0 / 360.0), 1.0, 1.0)]
        for i in range(len(segments))
    ]
    rr.log(entity, rr.LineStrips3D(segments, colors=colors, radii=0.003))


def main():
    hz = 30
    dt = 1.0 / hz
    radius = 0.30
    n_steps = 200

    robot = neura_robotics.NeuraRoboticsMAiRA7M()
    rr.init(f"telekinesis_synapse_{type(robot).__name__}", spawn=True)
    visualize_robot(robot, static_meshes=True)
    time.sleep(2.0)

    home_pose = robot.get_cartesian_pose()
    logger.info(f"Tracing circle of radius {radius:.3f} m in YZ plane ({n_steps} steps)")

    path: list[list[float]] = []
    for step in range(n_steps + 1):
        theta = 2.0 * np.pi * step / n_steps
        pose = home_pose.copy()
        pose[1] = home_pose[1] + radius * np.cos(theta) - radius
        pose[2] = home_pose[2] + radius * np.sin(theta)
        try:
            robot.set_cartesian_pose(pose)
        except ValueError:
            continue
        visualize_robot(robot)
        actual = robot.get_cartesian_pose()
        path.append([float(actual[0]), float(actual[1]), float(actual[2])])
        visualize_path(path)
        time.sleep(dt)


if __name__ == "__main__":
    main()
python
"""
Telekinesis quickstart: drive an ABB IRB 7600 along a YZ-plane circle via Cartesian pose targets.
No Hardware Required - runs entirely in software with live visualization in Rerun.
"""

import colorsys
import time

import numpy as np
import rerun as rr
from loguru import logger

from telekinesis.synapse.robots.manipulators import abb


def visualize_robot(robot, static_meshes: bool = False) -> None:
    if static_meshes:
        for link, m in robot.get_visual_meshes_data().items():
            if m["vertices"] is None:
                continue
            kwargs: dict = {
                "vertex_positions": m["vertices"],
                "triangle_indices": m["triangles"],
                "vertex_normals": m["vertex_normals"],
            }
            if m["vertex_colors"] is not None:
                kwargs["vertex_colors"] = m["vertex_colors"]
            else:
                kwargs["albedo_factor"] = m["color"] or [179, 179, 179]
            rr.log(f"/robot/{link}", rr.Mesh3D(**kwargs), static=True)

    for link, T in robot.get_visual_mesh_transforms().items():
        rr.log(f"/robot/{link}", rr.Transform3D(translation=T[:3, 3], mat3x3=T[:3, :3]))


def visualize_path(path: list[list[float]], entity: str = "/trajectory") -> None:
    if len(path) < 2:
        return
    segments = [[path[i], path[i + 1]] for i in range(len(path) - 1)]
    n = max(1, len(segments) - 1)
    colors = [
        [int(c * 255) for c in colorsys.hsv_to_rgb((1.0 - i / n) * (240.0 / 360.0), 1.0, 1.0)]
        for i in range(len(segments))
    ]
    rr.log(entity, rr.LineStrips3D(segments, colors=colors, radii=0.003))


def main():
    hz = 30
    dt = 1.0 / hz
    radius = 0.5
    n_steps = 200

    robot = abb.AbbIRB7600150350()
    rr.init(f"telekinesis_synapse_{type(robot).__name__}", spawn=True)
    visualize_robot(robot, static_meshes=True)
    time.sleep(2.0)

    home_pose = robot.get_cartesian_pose()
    logger.info(f"Tracing circle of radius {radius:.3f} m in YZ plane ({n_steps} steps)")

    path: list[list[float]] = []
    for step in range(n_steps + 1):
        theta = 2.0 * np.pi * step / n_steps
        pose = home_pose.copy()
        pose[1] = home_pose[1] + radius * np.cos(theta) - radius
        pose[2] = home_pose[2] + radius * np.sin(theta)
        try:
            robot.set_cartesian_pose(pose)
        except ValueError:
            continue
        visualize_robot(robot)
        actual = robot.get_cartesian_pose()
        path.append([float(actual[0]), float(actual[1]), float(actual[2])])
        visualize_path(path)
        time.sleep(dt)


if __name__ == "__main__":
    main()
python
"""
Telekinesis quickstart: drive a Franka Robotics Panda along a YZ-plane circle via Cartesian pose targets.
No Hardware Required - runs entirely in software with live visualization in Rerun.
"""

import colorsys
import time

import numpy as np
import rerun as rr
from loguru import logger

from telekinesis.synapse.robots.manipulators import franka_robotics


def visualize_robot(robot, static_meshes: bool = False) -> None:
    if static_meshes:
        for link, m in robot.get_visual_meshes_data().items():
            if m["vertices"] is None:
                continue
            kwargs: dict = {
                "vertex_positions": m["vertices"],
                "triangle_indices": m["triangles"],
                "vertex_normals": m["vertex_normals"],
            }
            if m["vertex_colors"] is not None:
                kwargs["vertex_colors"] = m["vertex_colors"]
            else:
                kwargs["albedo_factor"] = m["color"] or [179, 179, 179]
            rr.log(f"/robot/{link}", rr.Mesh3D(**kwargs), static=True)

    for link, T in robot.get_visual_mesh_transforms().items():
        rr.log(f"/robot/{link}", rr.Transform3D(translation=T[:3, 3], mat3x3=T[:3, :3]))


def visualize_path(path: list[list[float]], entity: str = "/trajectory") -> None:
    if len(path) < 2:
        return
    segments = [[path[i], path[i + 1]] for i in range(len(path) - 1)]
    n = max(1, len(segments) - 1)
    colors = [
        [int(c * 255) for c in colorsys.hsv_to_rgb((1.0 - i / n) * (240.0 / 360.0), 1.0, 1.0)]
        for i in range(len(segments))
    ]
    rr.log(entity, rr.LineStrips3D(segments, colors=colors, radii=0.003))


def main():
    hz = 20
    dt = 1.0 / hz
    radius = 0.10
    n_steps = 200

    robot = franka_robotics.FrankaRoboticsPanda()
    rr.init(f"telekinesis_synapse_{type(robot).__name__}", spawn=True)
    visualize_robot(robot, static_meshes=True)
    time.sleep(2.0)

    home_pose = robot.get_cartesian_pose()
    logger.info(f"Tracing circle of radius {radius:.3f} m in YZ plane ({n_steps} steps)")

    path: list[list[float]] = []
    for step in range(n_steps + 1):
        theta = 2.0 * np.pi * step / n_steps
        pose = home_pose.copy()
        pose[1] = home_pose[1] + radius * np.cos(theta) - radius
        pose[2] = home_pose[2] + radius * np.sin(theta)
        try:
            robot.set_cartesian_pose(pose)
        except ValueError:
            continue
        visualize_robot(robot)
        actual = robot.get_cartesian_pose()
        path.append([float(actual[0]), float(actual[1]), float(actual[2])])
        visualize_path(path)
        time.sleep(dt)


if __name__ == "__main__":
    main()
python
"""
Telekinesis quickstart: drive a KUKA KR 150-2 along a YZ-plane circle via Cartesian pose targets.
No Hardware Required - runs entirely in software with live visualization in Rerun.
"""

import colorsys
import time

import numpy as np
import rerun as rr
from loguru import logger

from telekinesis.synapse.robots.manipulators import kuka


def visualize_robot(robot, static_meshes: bool = False) -> None:
    if static_meshes:
        for link, m in robot.get_visual_meshes_data().items():
            if m["vertices"] is None:
                continue
            kwargs: dict = {
                "vertex_positions": m["vertices"],
                "triangle_indices": m["triangles"],
                "vertex_normals": m["vertex_normals"],
            }
            if m["vertex_colors"] is not None:
                kwargs["vertex_colors"] = m["vertex_colors"]
            else:
                kwargs["albedo_factor"] = m["color"] or [179, 179, 179]
            rr.log(f"/robot/{link}", rr.Mesh3D(**kwargs), static=True)

    for link, T in robot.get_visual_mesh_transforms().items():
        rr.log(f"/robot/{link}", rr.Transform3D(translation=T[:3, 3], mat3x3=T[:3, :3]))


def visualize_path(path: list[list[float]], entity: str = "/trajectory") -> None:
    if len(path) < 2:
        return
    segments = [[path[i], path[i + 1]] for i in range(len(path) - 1)]
    n = max(1, len(segments) - 1)
    colors = [
        [int(c * 255) for c in colorsys.hsv_to_rgb((1.0 - i / n) * (240.0 / 360.0), 1.0, 1.0)]
        for i in range(len(segments))
    ]
    rr.log(entity, rr.LineStrips3D(segments, colors=colors, radii=0.003))


def main():
    hz = 30
    dt = 1.0 / hz
    radius = 0.5
    n_steps = 200

    robot = kuka.KukaKR1502()
    rr.init(f"telekinesis_synapse_{type(robot).__name__}", spawn=True)
    visualize_robot(robot, static_meshes=True)
    time.sleep(2.0)

    home_pose = robot.get_cartesian_pose()
    logger.info(f"Tracing circle of radius {radius:.3f} m in YZ plane ({n_steps} steps)")

    path: list[list[float]] = []
    for step in range(n_steps + 1):
        theta = 2.0 * np.pi * step / n_steps
        pose = home_pose.copy()
        pose[1] = home_pose[1] + radius * np.cos(theta) - radius
        pose[2] = home_pose[2] + radius * np.sin(theta)
        try:
            robot.set_cartesian_pose(pose)
        except ValueError:
            continue
        visualize_robot(robot)
        actual = robot.get_cartesian_pose()
        path.append([float(actual[0]), float(actual[1]), float(actual[2])])
        visualize_path(path)
        time.sleep(dt)


if __name__ == "__main__":
    main()
python
"""
Telekinesis quickstart: drive a Yaskawa Motoman MH5 along a YZ-plane circle via Cartesian pose targets.
No Hardware Required - runs entirely in software with live visualization in Rerun.
"""

import colorsys
import time

import numpy as np
import rerun as rr
from loguru import logger

from telekinesis.synapse.robots.manipulators import motoman


def visualize_robot(robot, static_meshes: bool = False) -> None:
    if static_meshes:
        for link, m in robot.get_visual_meshes_data().items():
            if m["vertices"] is None:
                continue
            kwargs: dict = {
                "vertex_positions": m["vertices"],
                "triangle_indices": m["triangles"],
                "vertex_normals": m["vertex_normals"],
            }
            if m["vertex_colors"] is not None:
                kwargs["vertex_colors"] = m["vertex_colors"]
            else:
                kwargs["albedo_factor"] = m["color"] or [179, 179, 179]
            rr.log(f"/robot/{link}", rr.Mesh3D(**kwargs), static=True)

    for link, T in robot.get_visual_mesh_transforms().items():
        rr.log(f"/robot/{link}", rr.Transform3D(translation=T[:3, 3], mat3x3=T[:3, :3]))


def visualize_path(path: list[list[float]], entity: str = "/trajectory") -> None:
    if len(path) < 2:
        return
    segments = [[path[i], path[i + 1]] for i in range(len(path) - 1)]
    n = max(1, len(segments) - 1)
    colors = [
        [int(c * 255) for c in colorsys.hsv_to_rgb((1.0 - i / n) * (240.0 / 360.0), 1.0, 1.0)]
        for i in range(len(segments))
    ]
    rr.log(entity, rr.LineStrips3D(segments, colors=colors, radii=0.003))


def main():
    hz = 30
    dt = 1.0 / hz
    radius = 0.10
    n_steps = 200

    robot = motoman.MotomanMH5()
    rr.init(f"telekinesis_synapse_{type(robot).__name__}", spawn=True)
    visualize_robot(robot, static_meshes=True)
    time.sleep(2.0)

    home_pose = robot.get_cartesian_pose()
    logger.info(f"Tracing circle of radius {radius:.3f} m in YZ plane ({n_steps} steps)")

    path: list[list[float]] = []
    for step in range(n_steps + 1):
        theta = 2.0 * np.pi * step / n_steps
        pose = home_pose.copy()
        pose[1] = home_pose[1] + radius * np.cos(theta) - radius
        pose[2] = home_pose[2] + radius * np.sin(theta)
        try:
            robot.set_cartesian_pose(pose)
        except ValueError:
            continue
        visualize_robot(robot)
        actual = robot.get_cartesian_pose()
        path.append([float(actual[0]), float(actual[1]), float(actual[2])])
        visualize_path(path)
        time.sleep(dt)


if __name__ == "__main__":
    main()
Run quickstart.py and see the output!
bash
python quickstart.pyBack to Getting Started
Overview of the full setup flow.
Where to Go Next?
The tutorials below need no additional setup. For Telekinesis Agent and vendor camera support, see Advanced Installation.

Explore the Docs
Skills
Vision, 3D, hardware, and robotics skills — the full API reference.
Agents
Turn natural-language instructions into robot code with Tzara, the VS Code agent.
Data Engine
Generate and manage synthetic datasets for training Physical AI models.
BabyROS
Lightweight pub/sub and service primitives for building robot communication layers.
Applications
Real-world use cases: pick-and-place, palletizing, quality inspection, and more.