Overlay Images Using Weighted Overlay
SUMMARY
Overlay Images Using Weighted Overlay blends two images using weighted overlay.
Computes a weighted sum: output = weight1 * image_1 + weight2 * image_2. Useful for blending, crossfades, and combining images. Typically weight1 + weight2 = 1.0 for normalized blending.
Use this Skill when you want to blend two images with configurable weights.
The Skill
from telekinesis import pupil

blended = pupil.overlay_images_using_weighted_overlay(
    image_1=image_1,
    image_2=image_2,
    weight1=0.7,
    weight2=0.3,
)Example
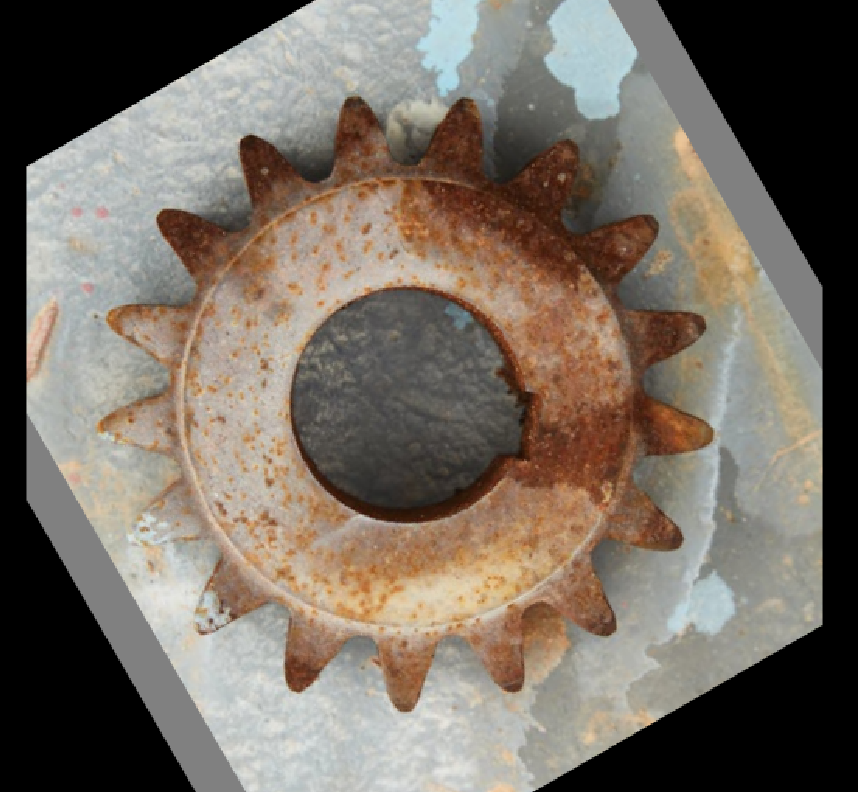
Image 1

First image
Image 2
Second image
Weighted Overlayed Image
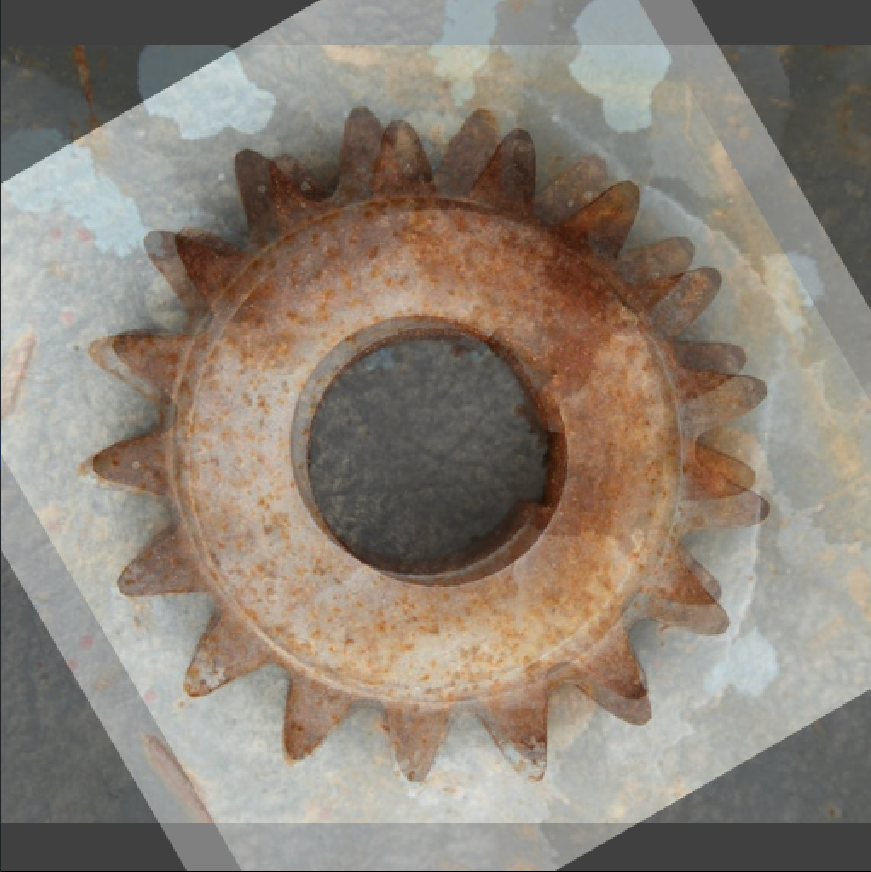
Weighted image
The Code
from telekinesis import pupil
from datatypes import io
import pathlib
from loguru import logger

DATA_DIR = pathlib.Path("path/to/telekinesis-data")

# Load image and create second image (e.g., rotated)
filepath = str(DATA_DIR / "images" / "rusted_metal_gear.jpg")
image_a = io.load_image(filepath=filepath)
image_a = pupil.resize_image_with_aspect_fit(
    image=image_a,
    resize_width=512,
    resize_height=512,
)
image_b = pupil.rotate_image(image=image_a, angle_in_deg=60.0, keep_image_size=True)
logger.success(f"Loaded image from {filepath}")

# Blend two images using weighted overlay
blended = pupil.overlay_images_using_weighted_overlay(
    image_a=image_a,
    image_b=image_b,
    weight_a=0.5,
    weight_b=0.5,
)

# Access results
blended_np = blended.to_numpy()
logger.success("Weighted overlay. Output shape: {}", blended_np.shape)
The Explanation of the Code
The code begins by importing the necessary modules: pupil for image processing operations, io for data handling, pathlib for path management, and loguru for logging.
from telekinesis import pupil
from datatypes import io
import pathlib
from loguru import logger
Next, images are loaded or created. Both images must have the same dimensions. The formula is output = weight_a * image_a + weight_b * image_b.
DATA_DIR = pathlib.Path("path/to/telekinesis-data")

filepath = str(DATA_DIR / "images" / "rusted_metal_gear.jpg")
image_a = io.load_image(filepath=filepath)
image_b = pupil.rotate_image(image=image_a, angle_in_deg=43.0, keep_image_size=True)
The main operation uses the overlay_images_using_weighted_overlay Skill from the pupil module. This Skill blends two images using configurable weights. For a 50/50 blend, use weight_a=0.5, weight_b=0.5.
blended = pupil.overlay_images_using_weighted_overlay(
    image_a=image_a,
    image_b=image_b,
    weight_a=0.5,
    weight_b=0.5,
)
logger.success("Weighted overlay. Output shape: {}", blended.to_numpy().shape)
Finally, the blended image is converted to a NumPy array for further processing or visualization.
blended_np = blended.to_numpy()
logger.success("Weighted overlay. Output shape: {}", blended_np.shape)
This operation is particularly useful in robotics and vision pipelines for visualization, crossfade, multi-exposure, and augmentation, where blending two images with configurable weights is required.
Running the Example
Runnable examples are available in the Telekinesis examples repository. Follow the README in that repository to set up the environment. Once set up, you can run this specific example with:
cd telekinesis-examples
python examples/pupil_examples.py --example overlay_images_using_weighted_overlay
How to Tune the Parameters
The overlay_images_using_weighted_overlay Skill has 2 parameters that control the blend:
weight_a (no default—required): Controls the weight for the first image in the blend formula.
- Units: Dimensionless (typically 0.0–1.0)
- Increase to emphasize image_a more in the blend; Decrease to emphasize image_b more
- Typical range: 0.0–1.0
- Use 0.7–0.9 to emphasize image_a; 0.5 for 50/50 blend
weight_b (no default—required): Controls the weight for the second image in the blend formula.
- Units: Dimensionless (typically 0.0–1.0)
- Increase to emphasize image_b more in the blend; Decrease to emphasize image_a more
- Typical range: 0.0–1.0
- Use weight_a + weight_b = 1.0 for normalized blending
TIP
Best practice: Use weight1 + weight2 = 1.0 for normalized blending. Values can differ for special effects (e.g., double exposure).
Where to Use the Skill
Overlay Images Using Weighted Overlay is commonly used in the following pipelines:
- Visualization - Overlay annotations or comparisons
- Crossfade - Blend between frames
- Multi-exposure - Combine differently exposed images
- Augmentation - Blend images for training
Related skills to build such a pipeline:
bitwise_difference_images: Highlight differencesconvert_image_color_space: Prepare for display (e.g., BGR→RGB)generate_image_with_solid_color: Create overlay backgrounds
Alternative Skills
| Skill | vs. Overlay Images Using Weighted Overlay |
|---|---|
| bitwise_difference_images | Use for difference highlighting; overlay for blending. |
| bitwise_and_images | Use for binary mask intersection; overlay for intensity blending. |
When Not to Use the Skill
Do not use Overlay Images Using Weighted Overlay when:
- You need alpha-based compositing (Use RGBA and alpha blending)
- You need logical mask operations (Use bitwise operations)
- Images have different sizes (Resize to match first)